Garlic is a kitchen favorite, loved for its bold flavor and impressive health benefits. Whether you’re a beginner gardener or a seasoned pro, growing garlic in your backyard, garden, or even on a balcony is both rewarding and simple.
This guide covers everything you need to know about when to plant garlic, including choosing the right variety, ideal growing conditions, planting steps, pest management, harvesting, and storage tips.
Why Grow Garlic?
Garlic adds a rich, savory taste to dishes like soups, sauces, and marinades. Beyond its culinary uses, garlic boasts health perks—think anti-inflammatory and antimicrobial properties that support heart health and immunity. Plus, it’s low-maintenance, making it perfect for anyone looking to grow their own food. Curious about when to plant garlic for the best results? Let’s dive in!
Moreover, garlic is easy to grow and requires minimal care, making it an excellent choice for both beginners and experienced gardeners.
Ideal Growth Requirements for Garlic
To thrive, garlic needs the right balance of sunlight, temperature, moisture, and soil quality.
Sunlight
Garlic loves full sun—aim for at least 6 hours of direct sunlight daily. Pick a spot free from shade to ensure healthy growth throughout its 8-10-month cycle.
Temperature
Garlic grows best between 60°F and 70°F (15°C to 21°C). Hardneck varieties tolerate cold winters (down to 0°F or -18°C with mulch), while softneck types prefer milder climates.
Moisture
Keep soil evenly moist but not waterlogged. Water deeply once a week during dry spells, letting the top inch dry out between sessions. Good drainage is key to prevent bulb rot.
Soil Fertility
Garlic thrives in well-draining, nutrient-rich soil with a pH of 6.0-7.0. Mix in compost or manure before planting, and add a balanced fertilizer (like 10-10-10) in spring for robust bulbs.
When to Plant Garlic: Timing Is Everything
Fall Planting
The best time to plant garlic in most regions—like Minnesota, Wisconsin, or New York—is fall, 4-6 weeks before the first frost (typically October to November). This gives roots time to establish before winter, leading to bigger bulbs by summer.
Spring Planting
In warmer zones (like North Carolina or Tennessee, zones 6-7), you can plant garlic in early spring. However, fall planting usually yields larger, tastier cloves.
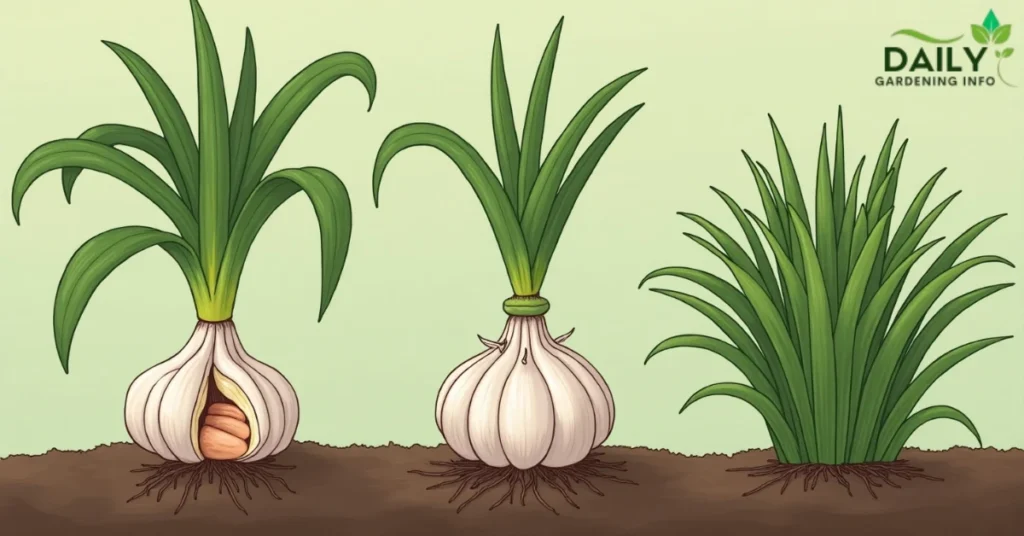
Choosing the Right Garlic Variety
Your climate and taste preferences will guide your choice between hardneck and softneck garlic.
Hardneck Garlic
Perfect for cold climates, hardneck garlic has a stiff stalk and produces fewer, larger cloves with a bold flavor. Try varieties like ‘Purple Stripe’ or ‘Rocambole’ for a culinary kick.
Softneck Garlic
Ideal for milder regions, softneck garlic offers a flexible stem (great for braiding) and more cloves with a subtler taste. Popular options like ‘California Early’ or ‘Silverskin’ store well for up to 9 months.
How to Plant Garlic: Step-by-Step
Garlic is a fantastic crop that grows from cloves, not seeds, making it a straightforward choice for gardeners of all levels. Whether you’re starting in a garden bed, raised plot, or even a pot on your balcony, planting garlic is simple with the right approach.
Timing is critical—knowing when to plant garlic (typically fall for most regions) sets the stage for success. This detailed garlic planting guide walks you through each step, with practical tips to ensure your cloves thrive and produce plump, flavorful bulbs by harvest time.
Step 1: Select Quality Bulbs
Choosing the right garlic bulbs is the foundation of how to grow garlic successfully. Go for organic bulbs from a trusted source like a local nursery or farmer’s market—store-bought garlic might be treated with chemicals to stop sprouting, which can ruin your efforts. Bigger cloves are your best bet; they’re packed with energy to grow into strong plants and larger bulbs.
- Where to Buy: Look for organic garlic at nurseries, online seed suppliers, or local farms.
- What to Pick: Choose firm, plump cloves—avoid soft, mushy, or moldy ones.
- Variety Tip: Try ‘Rocambole’ for bold flavor or ‘Silverskin’ for long storage.
Step 2: Break Apart Bulbs
Once you’ve got your bulbs, it’s time to prep them for planting. Break the bulbs into individual cloves right before you plant—this keeps them fresh and ready to sprout. Handle them gently to avoid damaging the cloves, as cuts or bruises can invite rot or pests later.
- When to Do It: Separate cloves on planting day, not earlier, to preserve freshness.
- How to Handle: Use your fingers to gently pull cloves apart, keeping the papery skin on.
- What to Save: Pick the biggest cloves for planting; use smaller ones in the kitchen.
Step 3: Prepare the Soil
Garlic loves loose, nutrient-rich soil that drains well, so prepping your planting area is key. Digging deep and adding organic matter gives roots the space and food they need to grow. A quick soil test can help you hit the perfect pH range, ensuring your garlic gets off to a strong start.
- Loosen Up: Dig soil 12 inches deep with a shovel or fork for good root space.
- Add Nutrients: Mix in 2-3 inches of compost or aged manure for fertility.
- Check pH: Use a soil test kit (from garden stores) to aim for 6.0-7.0; adjust with lime (if too low) or sulfur (if too high).
- Drainage Fix: If soil’s heavy or clay-like, add sand or build a raised bed.
Step 4: Plant Cloves
Now comes the fun part—getting those cloves in the ground! Proper spacing and placement help your garlic plants grow without fighting for resources. This step is where your garlic planting tips really pay off, setting the stage for a healthy crop.
- Dig Holes: Make holes 2 inches deep, 4-6 inches apart, in rows 10-12 inches apart.
- Position Cloves: Place each clove pointed-end up (sharp tip), flat-end down (base).
- Cover Up: Fill with soil and press lightly to remove air pockets.
- Stay Organized: Mark rows with stakes or string, especially for multiple varieties.
Step 5: Water Lightly
Watering after planting helps the soil settle around your cloves, but don’t overdo it—garlic hates being waterlogged. A gentle sprinkle is all it takes to kick things off, especially if you’re planting in fall, the best time to plant garlic for most climates.
- How Much: Give about 1 inch of water—just enough to dampen the soil.
- How to Do It: Use a watering can with a fine rose or a hose with a soft spray.
- Watch Out: Avoid soaking the soil; check moisture over the next few days if it’s dry.
Step 6: Mulch
Mulching is like a cozy blanket for your garlic—it protects cloves, saves water, and keeps weeds away. This simple step is a must for garlic care, especially in colder regions where winter can be harsh on young plants.
How to Apply: Cover evenly over the soil, but don’t pile it too thick—let the ground breathe.
What to Use: Spread 2-3 inches of straw, shredded leaves, or chemical-free grass clippings.
Why It Helps: Retains moisture, blocks weeds, and insulates against freezes.
Caring for Garlic as It Grows
Ongoing garlic care tips ensure a great harvest:
Pest Check: Watch for issues and use natural remedies like neem oil.
Watering: Maintain moist soil—1 inch weekly, adjusted for rain.
Fertilizing: Add fertilizer in spring when shoots appear.
Weeding: Hand-pull weeds to protect shallow roots.
Pest and Disease Management In Garlic
Protect your garlic plants from these threats:
Common Pests
- Aphids: Sap-suckers that yellow leaves. Use water blasts or insecticidal soap (85% effective).
- Thrips: Tiny pests causing silver streaks. Trap them with sticky traps or treat with soap.
Common Diseases
Downy Mildew: Yellow leaves and mold. Improve airflow and skip overhead watering.
White Rot: A fungus rotting bulbs. Rotate crops to avoid it.
When and How to Harvest Garlic
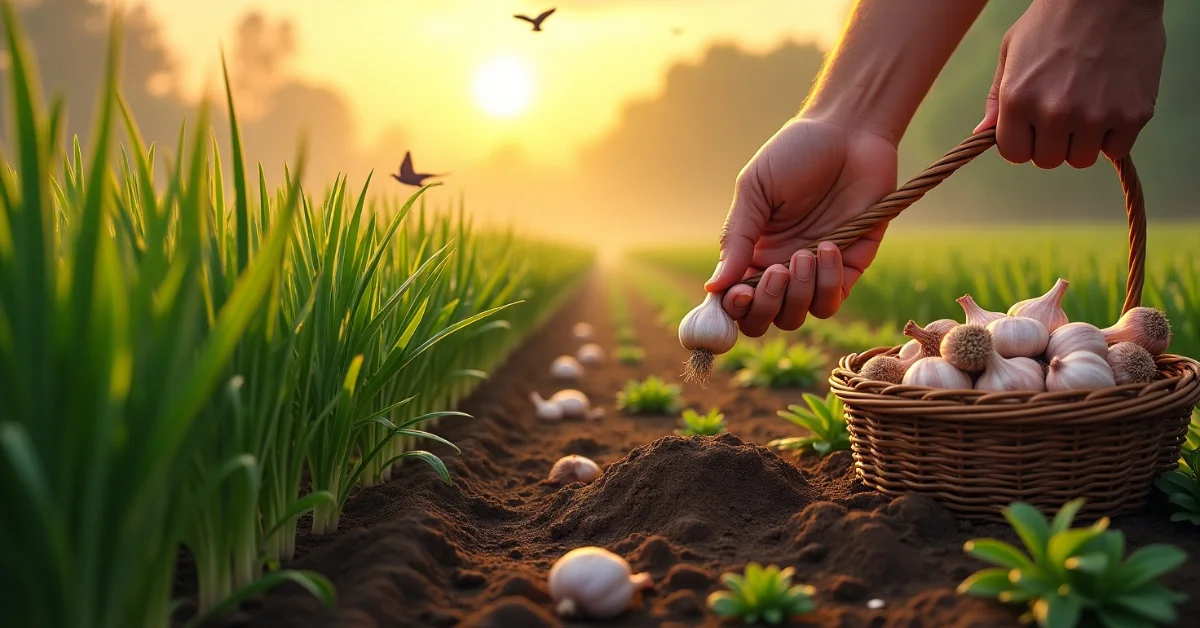
Harvesting garlic happens in mid to late summer (June-July) when one-third of the leaves brown. On a dry day, lift bulbs with a fork, brushing off soil without washing.
Curing and Storing Garlic Tips
After harvesting, hang your garlic in a dry, dark, and airy spot. Braiding softneck garlic or tying hardneck garlic in bunches helps them dry evenly. Let them cure for 2-4 weeks, and you’ll know they’re ready when the outer skins feel dry.
Once they’re cured, store the garlic in a cool, dark place like a pantry or cellar. The temperature should be around 60°F to 65°F (15°C to 18°C). Use mesh bags or baskets so air can flow and stop moisture from building up.
Cooking & Medical Notes For Garlic Plant
Freshly harvested garlic can enhance the flavor of many dishes. You can use raw garlic for dressings or dips for a strong, pungent flavor. If you have excess garlic, consider preserving it by freezing or pickling. Properly stored, pickled garlic can last for up to a year in the fridge, offering a tangy addition to salads, sandwiches, and sauces.
Did you know that raw garlic contains a compound called allicin, which is responsible for its sharp flavor and many health benefits? Studies show that consuming 1-2 cloves of raw garlic per day may help boost immune function and improve heart health. It’s awesome for us all!
Interesting Facts
Garlic is a low-calorie, nutrient-dense food. Just 28 grams of garlic contains:
- 23% of the RDI (Recommended Dietary Intake) for Manganese
- 17% of the RDI for Vitamin B6
- 15% of the RDI for Vitamin C Plus, it’s packed with antioxidants and other compounds that help fight inflammation and infections.
Growing Garlic in Pots
If garden space is limited, you can successfully grow garlic in pots. Choose a container that is at least 12 inches deep and wide to provide adequate root space. Ensure the pot has drainage holes to prevent waterlogging.
Fill the container with well-draining potting soil mixed with compost. Plant the cloves 2 inches deep with the pointed end facing up, spacing them 4-6 inches apart.
Monitor soil moisture and water when the top inch feels dry. Position the pot in a sunny location that receives at least 6 hours of direct sunlight each day.
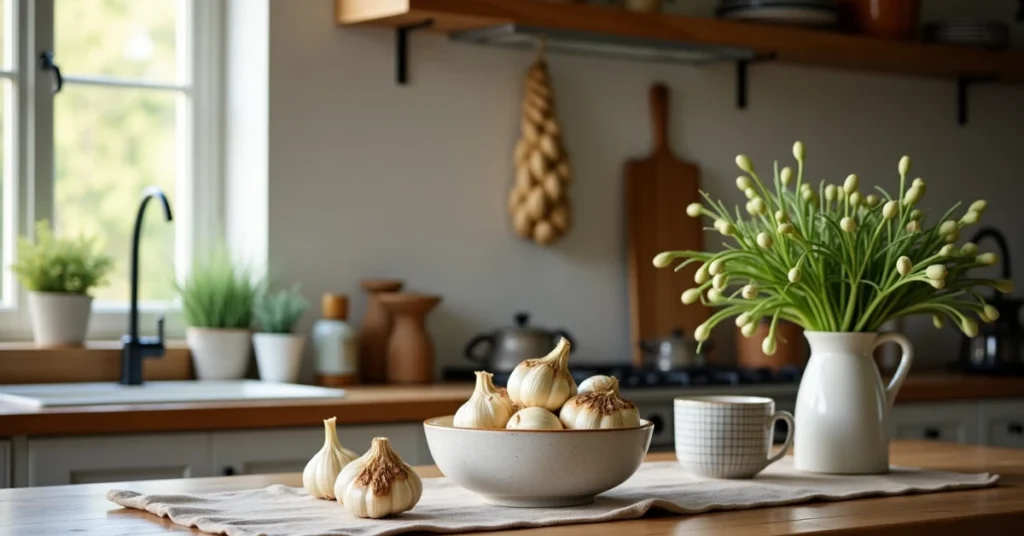
Decoration with Garlic Plant
Garlic isn’t just for cooking; it can also make your home look nice! You can braid garlic bulbs together, and they not only look beautiful but also smell great. Hang them in your kitchen to give it a cozy, rustic feel, or place them in a bowl on your dining table as a cool centerpiece.
Plus, in spring, garlic grows curly flower stalks called garlic scapes. These can be used in flower arrangements for a fun, fresh look. Their unique shape and green color make them a perfect choice for decorating your home while keeping it natural and simple!
Conclusion
Mastering when to plant garlic—fall for most, spring for warm zones—unlocks a harvest of flavorful bulbs. With the right garlic varieties, soil prep, and garlic care tips, you’ll enjoy homegrown garlic that outshines store-bought. Start your garlic planting journey today with daily gardening info!
Leave a Reply